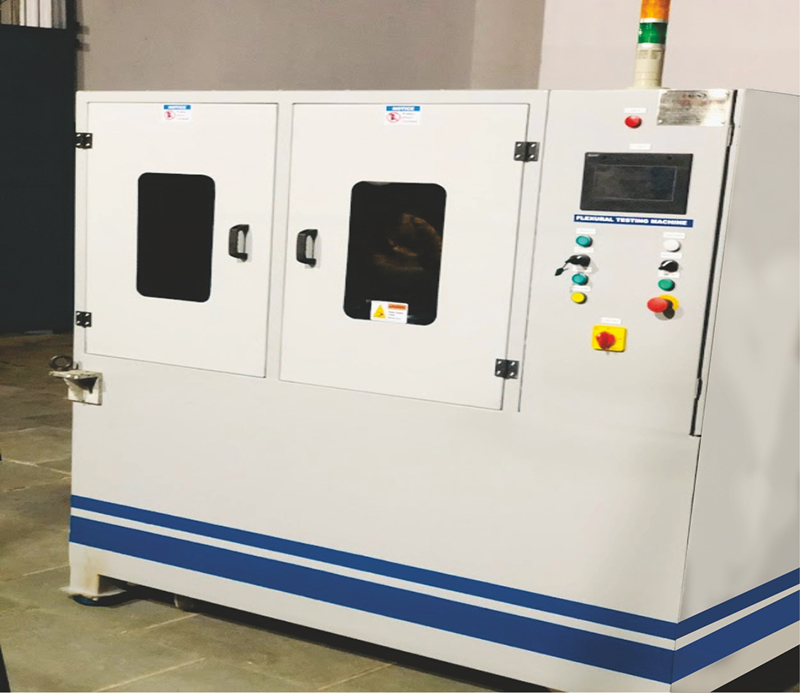
High-Pressure Hose Leak Testing

High-pressure hose leak testing is a process used to verify the integrity and safety of high-pressure hoses. It involves subjecting the hoses to a higher pressure than their normal operating conditions to check for any leaks, weaknesses, or failures.
Here are the steps typically involved in high-pressure hose leak testing:
Preparing the Test Setup: The first step is to ensure that the test setup is properly prepared. This includes connecting the high-pressure source to the hose and ensuring that all fittings and connections are secure. Safety precautions, such as wearing appropriate personal protective equipment (PPE), should also be followed.
Pressurizing the Hose: The high-pressure source is then activated to pressurize the hose. The pressure is increased gradually to the desired test level, which is often higher than the hose’s maximum operating pressure. It is important to refer to the manufacturer’s specifications for the correct test pressure.
Visual Inspection: While the hose is under pressure, a visual inspection is performed to check for any signs of leaks, bulges, deformations, or other abnormalities. This inspection helps identify any immediate failures or weaknesses in the hose that may lead to leaks.
Maintaining Pressure: The hose is kept pressurized for a specific duration to assess its ability to hold the pressure without any significant drop. The test duration can vary depending on the application and industry standards.
Monitoring and Recording: Throughout the test, the pressure is monitored closely using pressure gauges or sensors. Any pressure drop or abnormal behavior should be noted. It is essential to record the test parameters, including the test pressure, duration, and any observations.
