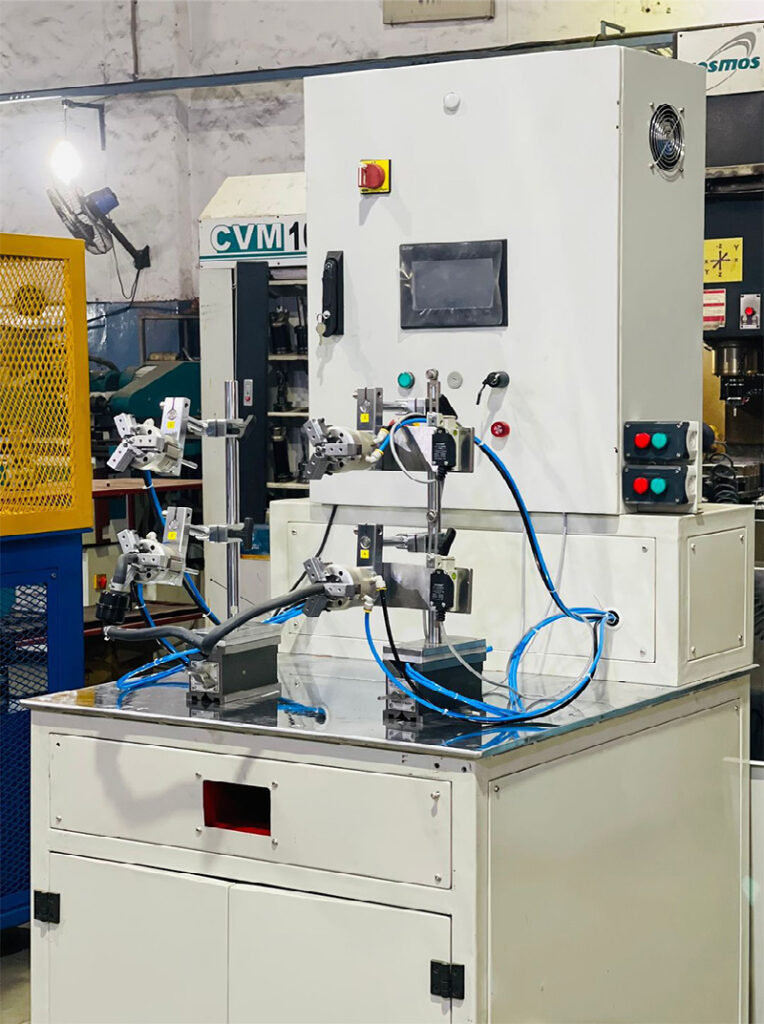
Leak Testing with Assembly
When conducting leak testing with an assembly (such as a hose assembly), there are a few additional considerations to ensure an accurate assessment of the assembly’s integrity. Here’s an overview of the process:

Preparing the Assembly: Ensure that the assembly is properly connected and secured, following the manufacturer’s guidelines. This includes verifying that all fittings, connections, and seals are correctly installed and tightened.
Selecting the Testing Method: Determine the appropriate leak testing method for the assembly based on its design, size, and the type of fluid it carries. Common leak testing methods include pressure decay testing, bubble testing, helium leak testing, or electronic leak testing.
Sealing Non-Testing Areas: If the assembly has components or areas that are not part of the leak test, such as connectors or valves, it is crucial to seal them properly to prevent false results. This can be done using suitable plugs, caps, or temporary seals.
Applying the Test Medium: Depending on the selected testing method, the appropriate test medium is applied to the assembly. For example, if conducting a bubble test, a solution of soapy water may be sprayed or applied to the assembly, while helium gas would be used for helium leak testing.
Applying Pressure or Vacuum: The assembly is pressurized or subjected to a vacuum according to the chosen leak testing method. This is done to create the necessary conditions for detecting leaks.
Observing and Inspecting: During the test, closely observe the assembly for any signs of leaks. This may involve checking for bubbles forming, changes in pressure or vacuum levels, or using specialized equipment to detect leaks electronically.
